
National Serger Month
This month is National Serger Month, and sergers are often misunderstood. Many sewists will never touch a serger, or will only touch it during a class. I like to characterize a serger as a supplement to your typical sewing machine. The stitch a serger creates is technically called an overlock stitch, and that is why you will see sergers also being referred to as “overlockers”. The two terms are interchangeable.
I want to emphasize that what a serger is often used for can almost always be done with a regular machine; it just simply does it faster. In this post, I want to give my own personal take on sergers and how I use them to solve sewing problems.
1. Processing fabric before prewashing
This is my most common use of a serger, and it was the result of reading one of Sandra Betzina’s books on sewing. One thing that people discover when they prewash their fabric in a washer is that the raw edge, as cut from the bolt, gets extremely ragged after doing the prewash. Depending on how energetic the washer’s drum is as it goes through the cycle, you potentially could lose entire sections of fabric as the raw edge is battered against the drum. It gets worse if your machine still has an agitator (like mine); the threads from the raw edge can potentially wrap around the agitator shaft.
To solve this problem, I always serge the raw edges of fabric that I get from a store before I throw it into my washer. This protects the edge from damaging the rest of the fabric as it is getting washed.
2. Sewing knits (and by extension, stretch fabrics)
This is a case where you could do this with a regular sewing machine with the correct needle, but with a serger, you can use whatever needles your serger uses. (The vast majority of home sergers do not require special serger needles; those are reserved for industrial versions.) In addition, most sergers are many times faster than the fastest regular sewing machines for stretch fabrics, as the stretch stitches on home sewing machines often are a very small stitch length. For example, for a very simple pair of spandex tights, I can usually make one with a serger in 15 minutes. The same pair would take me an hour to do on my regular sewing machine with a stretch stitch.
There is one caveat to this: as sergers are not designed to do very sharp curves, there are certain things I would still use a regular sewing machine with stretch fabrics; the main example would be gloves with flechettes.
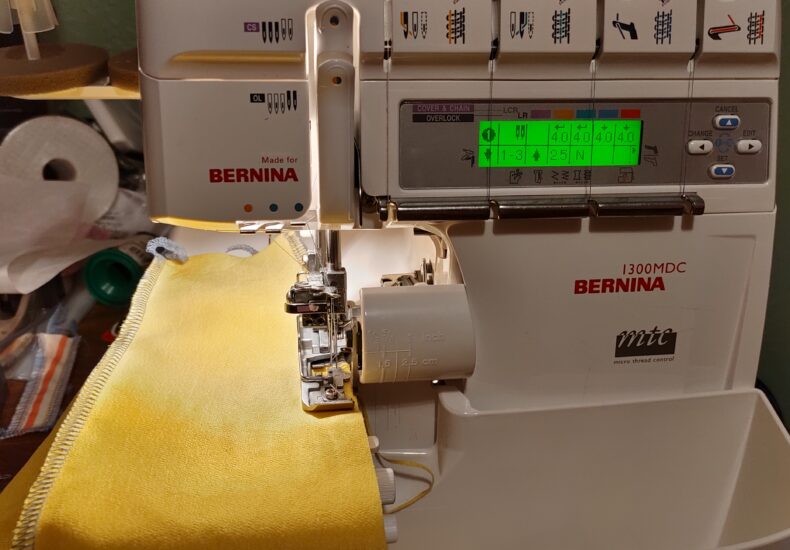
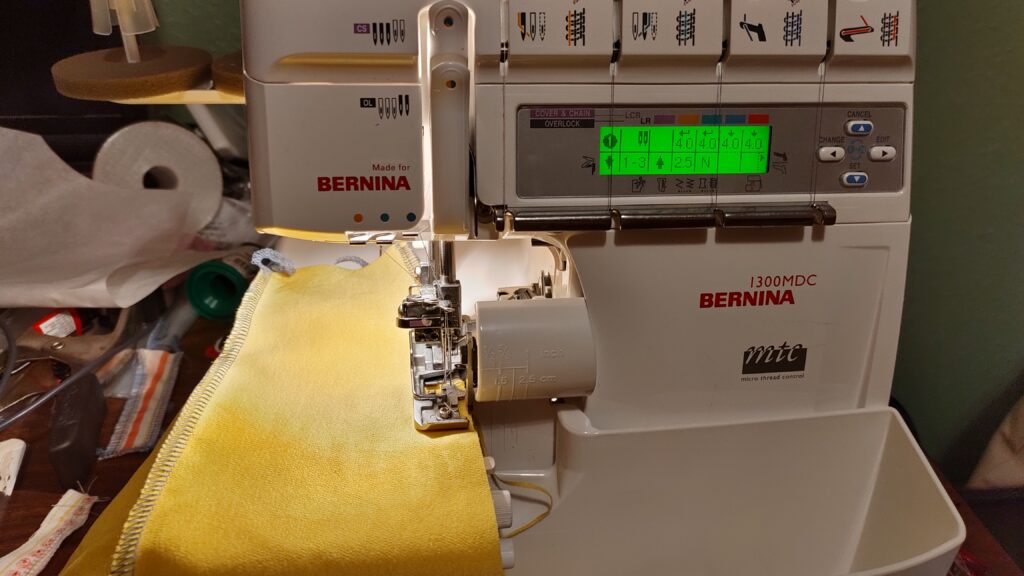
3. Finishing the raw edge of seam allowances
The finishing of a raw edge of a seam allowance is probably the most common use of a serger. It is simple and clean, and any serger will literally do this out of the box.
A small tip: if you are just finishing the raw edge of a seam allowance separate from the actual seam, you do not need both needles; read your serger manual to find out how to set up the machine for a 3-thread overlock. It is less bulky than the standard 4-thread overlock.
4. Making pleated circular skirts
The way I do my pleated circular skirts is to sew each panel individually. The serger is perfect for this; I can get a precise 1/4″ seam allowance that is finished, and it is nearly impossible to tear the panels apart without using a seam ripper. Since I often have to sew 40-50 panels per skirt (I like to do box pleats for these), doing this with a serger allows me to get away without having to line the skirt, and I can usually make this style of skirt in about 2 hours of work.
5. Sewing 10+ layers of fabric together
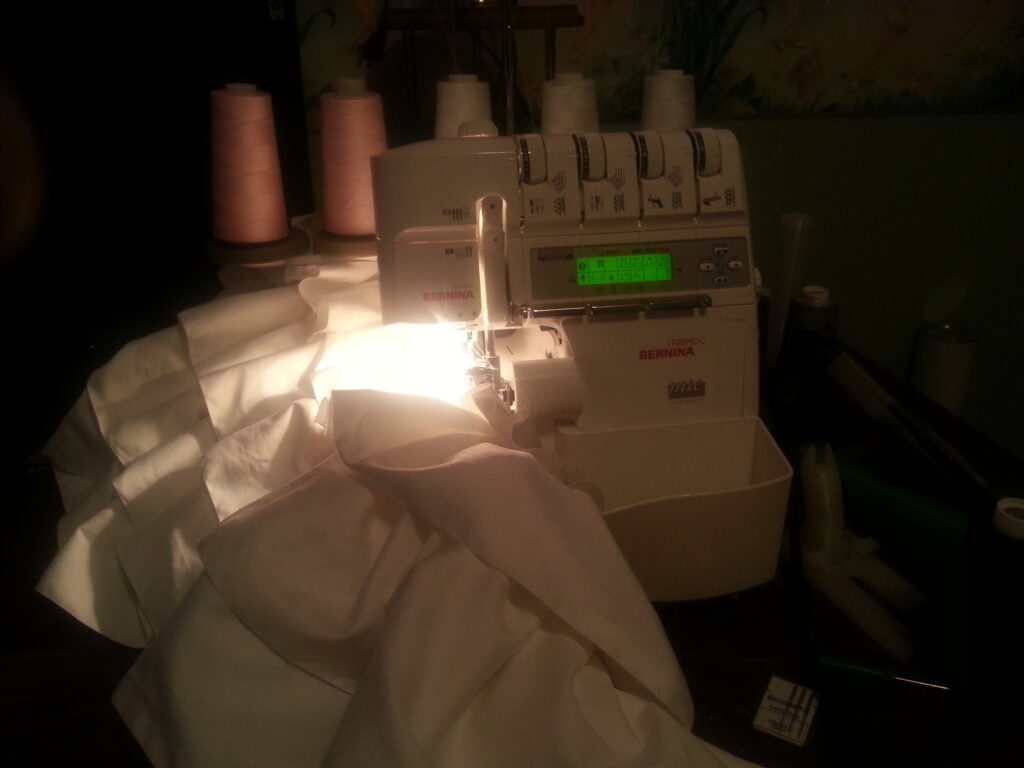
Even the best of home sewing machines will fall when presented with 10+ layers of fabric. A serger can sew together more layers of fabric and create a stronger stitch. In this picture, I am actually sewing 20 layers of fabric together (it was a combination of pleats from a ruffler foot and lots of tiers on this petticoat). The serger handled this situation like a champ!
Some advice on serger use
- Always do a sample test stitch before putting your piece through (especially true if you are sewing with silk fabrics).
- Get your serger maintained yearly.
- Learn how to clean up the tails of your serger thread after you run the piece through. I personally like to put the tails into a tapestry needle and jab that under the looper stitches.
Leave a Reply